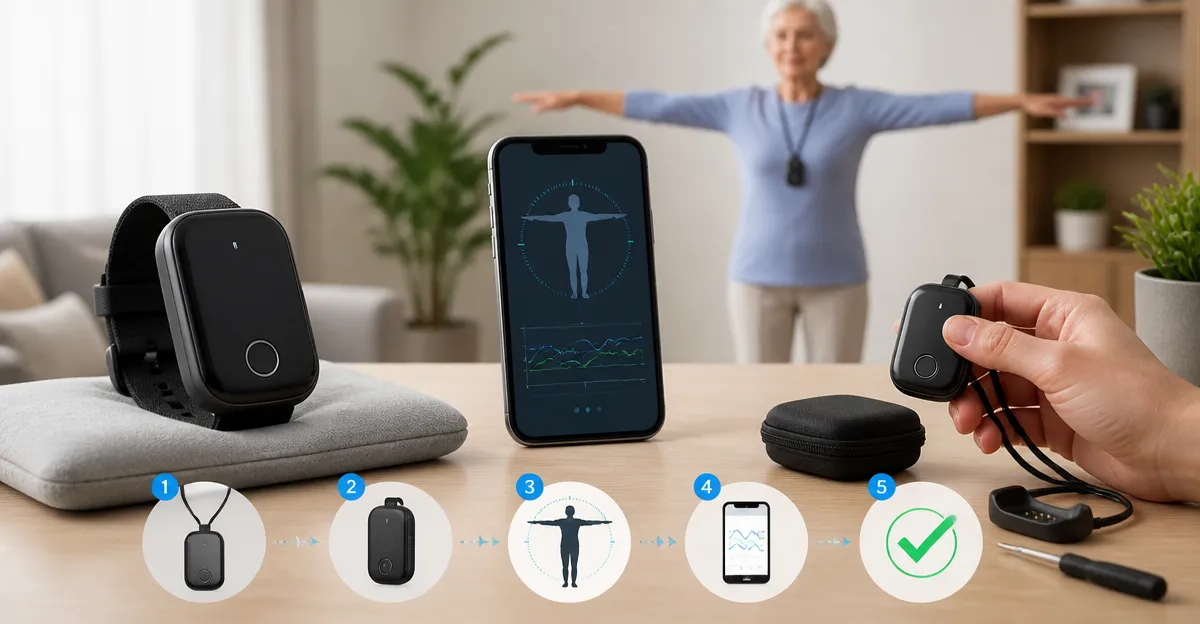
How to Calibrate Your Wearable Fall Detector at Home: Easy Step-by-Step Guide to Improve Accuracy
Introduction
Accurate fall detection can mean the difference between a timely rescue and an unnecessary emergency call. This guide teaches readers how to calibrate a wearable fall detector using practical, home‑based procedures. By following each step, one will improve sensor sensitivity, reduce false positives, and increase confidence in the device. The information is valuable for caregivers, seniors, and anyone responsible for personal safety technology.
What You'll Need
- Fully charged wearable device (pendant, wristband, smartband, or button‑style unit)
- Companion smartphone or tablet with the device's app installed
- Stable surface for performing controlled fall simulations
- Internet connection for firmware updates
- Optional: Seculife Medical Alert Pendant – provides a magnetic charger and clear display for easy testing
- Optional: Seculife SOS Wristband – useful for wrist‑level calibration and hands‑free testing
- Optional: Safety+ 4G Medical Alert System – includes a charging dock and 4G connectivity for remote verification
- Optional: Seculife Medical Alert Smartband – offers heart‑rate monitoring that can complement fall‑sensor tuning
Step 1: Charge and Prepare the Device
Begin by ensuring the wearable is fully charged; a low battery can impair sensor performance and cause delayed alerts. Connect the device to its dedicated charger – for the Seculife Medical Alert Pendant, the magnetic charging base simplifies alignment and reduces wear on the connector. Verify the battery indicator on the display shows 100 % before proceeding. This step eliminates power‑related variables that could skew calibration results.
Step 2: Install and Update the Companion App
Download the official app from the App Store or Google Play; the app acts as the configuration hub for sensitivity, geofence, and notification settings. Open the app, create an account, and pair the wearable via Bluetooth following on‑screen prompts. After pairing, check for firmware updates; manufacturers regularly release patches that refine sensor algorithms. Updating ensures the device operates with the latest calibration logic, which is essential for accurate fall detection.
Step 3: Set Baseline Sensitivity
Within the app, locate the "Fall Sensitivity" or "Detection Threshold" menu. Most devices offer three levels: Low, Medium, and High. Start with the Medium setting, which balances false alerts and missed falls for most users. If the wearer has limited mobility or uses a walking aid, consider raising the sensitivity to High; conversely, very active individuals may benefit from Low to avoid frequent false alarms. Document the chosen level in a notebook for future reference.
Step 4: Perform Controlled Fall Simulations
To calibrate accurately, conduct a series of controlled movements that mimic real falls without risking injury. Place a soft mat on the floor, sit on a sturdy chair, and gently lower the torso forward until the device registers a fall. Repeat the motion three times, noting whether the app logs an alert each time. If alerts are missed, increase the sensitivity by one level and repeat the test. Conversely, if alerts trigger during normal sitting, reduce the sensitivity.
Step 5: Verify GPS Accuracy and Geofence Settings
Accurate location data complements fall alerts by informing caregivers of the wearer's exact position. In the app, enable real‑time GPS tracking and set a primary geofence around the home. Walk outside the boundary with the device to ensure the app sends an exit notification. Adjust the geofence radius in 50‑meter increments until alerts occur at the desired distance. The Seculife SOS Wristband provides a reliable GPS module that performs well in urban and suburban environments, making it a good reference point for this step.
Step 6: Test Two‑Way Calling Functionality
Two‑way voice communication is critical when a fall is detected. Initiate a test call from the app to the wearable; the device should answer automatically and allow a clear conversation. Speak at a normal volume and verify that the speaker and microphone transmit without distortion. If audio quality is poor, check the device's water‑resistance seal (IP67) for moisture ingress, especially after shower use.
Step 7: Fine‑Tune Battery Management
Extended battery life reduces charging frequency, which can otherwise interrupt calibration cycles. Set the device to transmit location updates at a 1‑hour interval; this conserves power while still providing adequate monitoring. Monitor battery level over a week; if depletion occurs faster than expected, consider disabling non‑essential features such as step counting. The Safety+ 4G Medical Alert System offers a 6‑day battery life with a simple charging dock, illustrating how optimal settings can prolong operation.
Step 8: Document Settings and Create a Maintenance Schedule
After successful calibration, record all configuration choices, including sensitivity level, geofence radius, update timestamps, and battery schedule. Schedule a monthly review to verify that firmware remains current and that the battery still holds a charge. Performing a brief fall simulation each month helps detect drift in sensor performance. Consistent documentation ensures that any future caregiver can replicate the calibrated state without trial and error.
Tips & Pro Tips
- Use a dedicated charging area: Keep the charger on a nightstand to encourage daily charging and avoid missed alerts.
- Avoid magnetic interference: Keep the device away from large speakers or magnetic clasps that could affect sensor accuracy.
- Leverage the companion app's analytics: Review daily activity logs to spot unusual patterns that may indicate sensor mis‑calibration.
- Enable push notifications: Immediate alerts on a caregiver's phone reduce response time after a fall.
- Consider a backup device: Pair a pendant with a wristband so that if one device fails, the other remains functional.
Troubleshooting Common Issues
| Problem | Possible Cause | Solution |
|---|---|---|
| Device does not register a fall | Sensitivity set too low or battery low | Increase sensitivity and ensure full charge before testing. |
| Frequent false alerts | High sensitivity or loose fit | Reduce sensitivity and tighten the wearable gently. |
| GPS location stuck | Weak cellular signal or outdated firmware | Move to an area with better reception and install the latest firmware. |
| Two‑way call fails | Microphone blocked or water ingress | Clean the speaker grille and verify the IP67 seal is intact. |
Conclusion
Calibrating a wearable fall detector at home is a systematic process that enhances reliability and user confidence. By charging the device, updating firmware, adjusting sensitivity, testing GPS, and maintaining documentation, one ensures that the technology performs as intended. The recommended tools – such as the Seculife Medical Alert Pendant and Safety+ 4G Medical Alert System – simplify each step while offering additional safety features. Regular maintenance and periodic testing will keep the system ready for emergencies, providing peace of mind for both the wearer and their caregivers.
Products Mentioned in This Guide
Frequently Asked Questions
How often should I recalibrate my wearable fall detector?
Recalibrate every 3–6 months or after any firmware update, battery change, or major physical impact.
Can I calibrate the device without the companion app?
Basic calibration can be done manually, but the app provides precise sensor tuning and verification.
What is the best surface for a controlled fall test?
Use a firm, flat surface like a carpeted floor or yoga mat to simulate a safe, repeatable fall.
Do firmware updates affect calibration settings?
Yes, updates can reset sensor thresholds, so run the calibration steps again after installing new firmware.
Is it safe to perform fall simulations at home?
Perform low‑impact, seated or kneeling drops rather than full-body falls to avoid injury while still testing the sensor.